Calling an Azure AD secured Rest API from Power APP using Power Automate
So few days back I was working on a requirement where we
needed to consume an Azure AD secured Rest API and display the response in Canvas
based Power APP. Before starting make sure you will have below details ready as
while creating custom connector, we will need these details.
2.Verb of your API : Get, Post etc..
3. Query parameters
appended to the Request URL. For example, in /items?id=####, the query
parameter is id.
4. Custom headers
that are part of the request if applicable(In my case I have custom headers).
5.As Rest API is using OAuth 2.0 authentication mechanism so make sure you will have Client ID and client Secret
6. Tenant ID
Alright so now you are ready to start adventure 😊
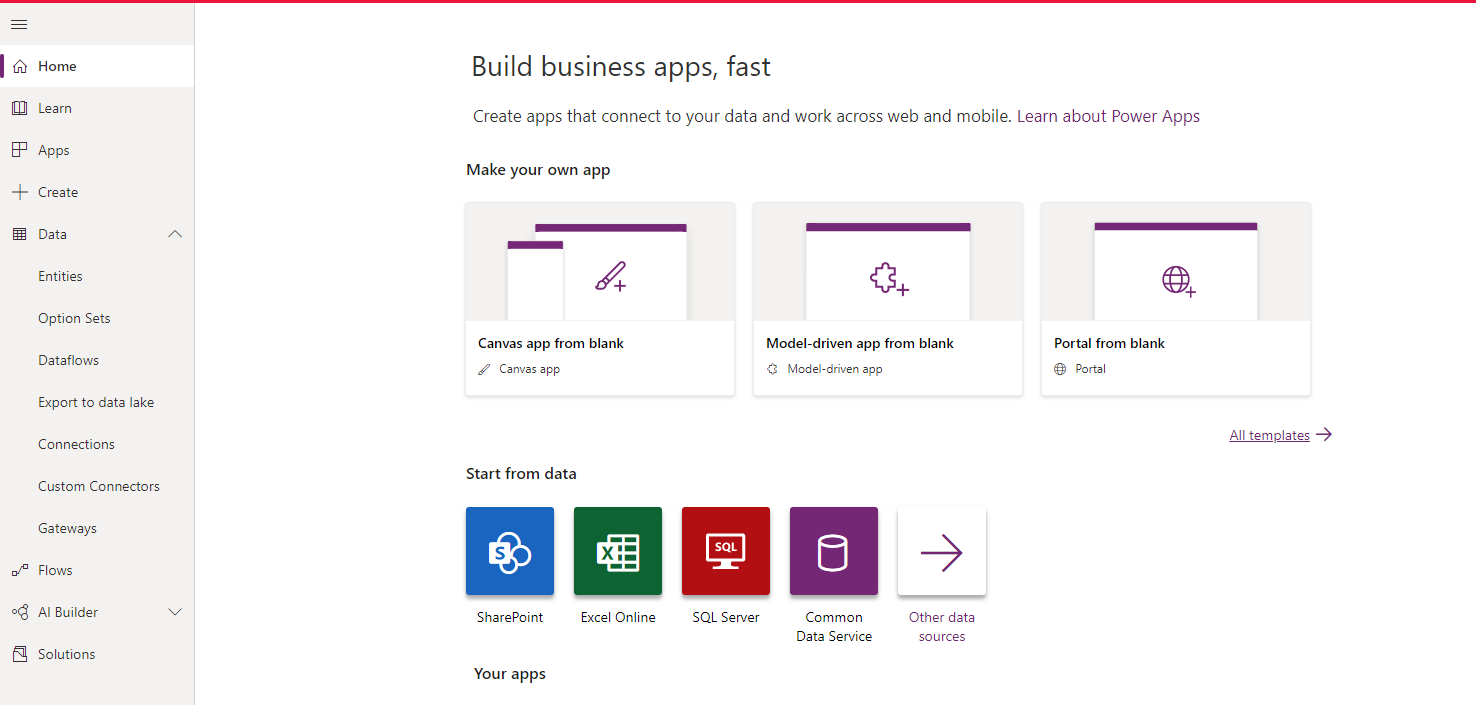
First you must create a Custom Connector. For that Go to
Custom Connector from left navigation options from your Power APP home as
below.
Now click on Custom
Connector and click on + Create a custom connector by choosing Create from
blank.
Provide some name for your custom connector. In my case I
have put RestAPIConnector as I am going to make connection with Azure AD
secured Rest API and click on Continue button.
You will be redirected to General Tab where you have to
choose Schema and put Host details and Base URL. These three are mandatory
fields. Make a note that your host URL will be the base URL of your Request URL
as I have mentioned above. Keep base URL as / only.


Comments
Post a Comment